
Installing Masai 4×4 Sound Deadening: A Step-by-Step Guide
The Land Rover Defender is known for its rugged charm and off-road prowess, but one common complaint among owners is the level of noise inside the cabin. Masai 4×4 offers a range of sound deadening materials designed specifically for the Defender to address this issue. Installing these materials can significantly reduce cabin noise and improve overall comfort. Here’s a detailed step-by-step guide on how to install Masai 4×4 sound deadening materials in your Defender.
Tools and Materials Needed
Before you start, ensure you have the following tools and materials:
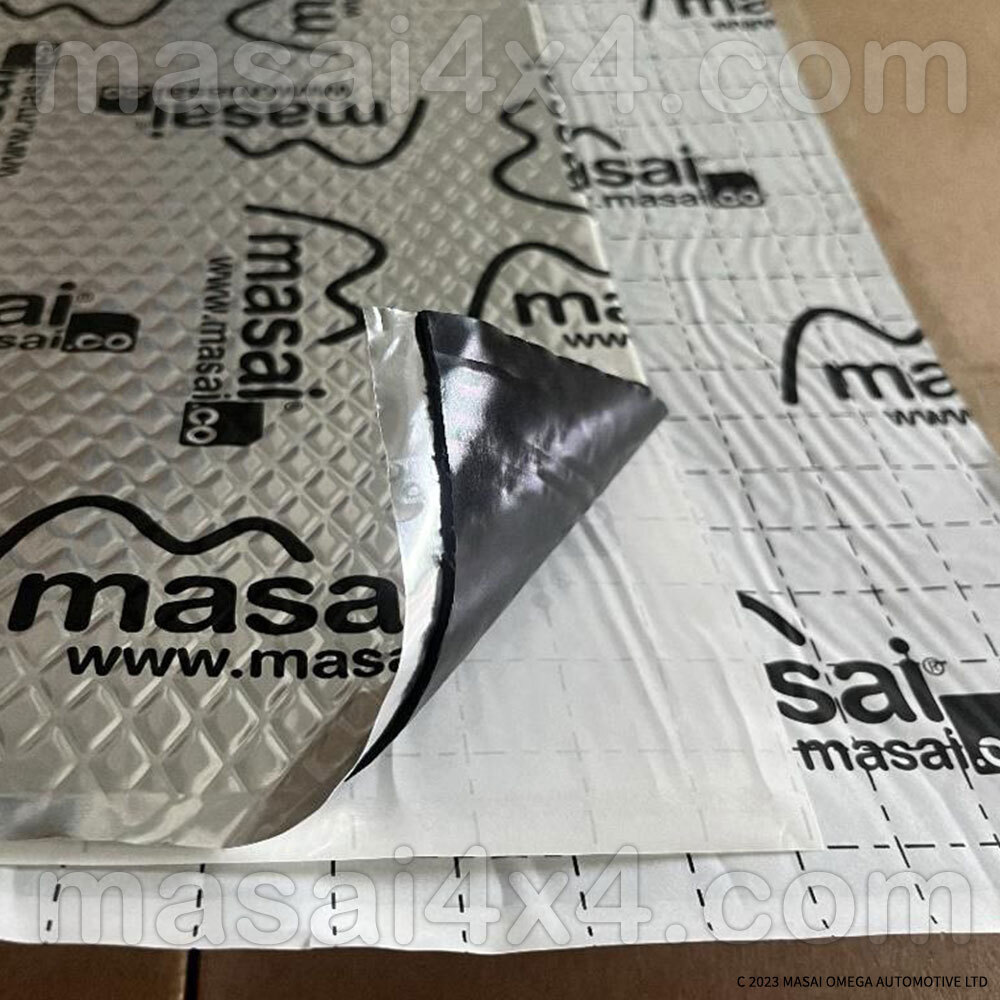
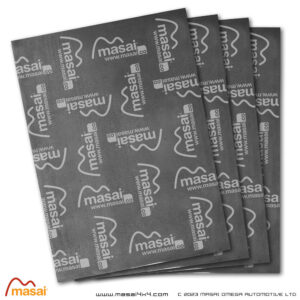
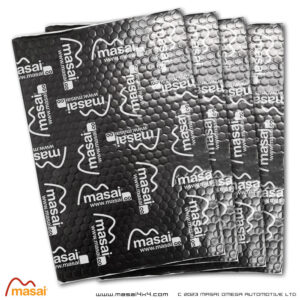
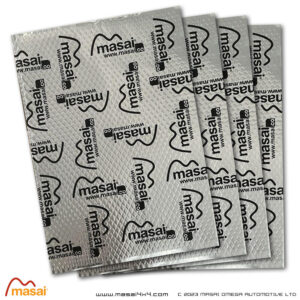
- Masai 4×4 sound deadening kit
- Screwdrivers (flathead and Phillips)
- Trim removal tool
- Utility knife
- Roller tool (for applying the sound deadening material)
- Measuring tape
- Marker
- Cleaning supplies (rubbing alcohol, cloths)
Step 1: Prepare Your Workspace
Find a clean, dry, and well-lit workspace to carry out the installation. Make sure your Defender is parked on a flat surface, and gather all your tools and materials.
Step 2: Remove Interior Panels
Start by removing the interior panels where you plan to install the sound deadening materials. This typically includes the door panels, floor mats, and possibly the roof liner. Use a trim removal tool to carefully detach the panels without damaging the clips or the panel itself.
Step 3: Clean the Surfaces
Once the panels are removed, clean the exposed metal surfaces thoroughly. Use rubbing alcohol and a clean cloth to remove any dirt, grease, or adhesive residue. This step is crucial as it ensures the sound deadening materials adhere properly.
Step 4: Measure and Cut the Sound Deadening Material
Measure the areas where you’ll be applying the sound deadening material. Using these measurements, cut the material to size with a utility knife. It’s better to cut slightly larger pieces that you can trim down as needed during installation.
Step 5: Apply the Sound Deadening Material
Peel off the backing from the sound deadening material and apply it to the cleaned metal surface. Start from one edge and work your way across, pressing firmly to ensure there are no air bubbles or gaps. Use a roller tool to smooth out the material and ensure it adheres well. Pay special attention to pressing it into any contours or crevices.
Step 6: Reinstall Interior Panels
Once the sound deadening material is applied, you can begin reinstalling the interior panels. Ensure all clips and screws are securely fastened. This step may require some adjustment to fit the panels over the newly applied material.
Step 7: Repeat for Other Areas
Repeat the process for other areas of the vehicle as needed. Common areas to apply sound deadening include the doors, floor, roof, and wheel arches. Each area will follow a similar process of removal, cleaning, measuring, applying, and reinstallation.
Step 8: Test the Results
After installing the sound deadening materials and reassembling your Defender’s interior, take your vehicle for a test drive. Pay attention to the reduction in road, wind, and engine noise. You should notice a significant improvement in cabin quietness and overall comfort.
Tips for Effective Installation
- Take Your Time: Rushing through the process can lead to mistakes. Take your time to ensure each step is done correctly for the best results.
- Use the Right Tools: A roller tool is particularly important for ensuring the sound deadening material is properly adhered to the surface.
- Double-Check Measurements: Accurate measurements ensure that the material fits perfectly without waste.
- Focus on High-Noise Areas: Prioritize areas where noise is most noticeable, such as the doors, floor, and wheel arches.
Conclusion
Installing Masai 4×4 sound deadening materials in your Land Rover Defender is a worthwhile upgrade that can significantly enhance your driving experience. By following this step-by-step guide, you can reduce cabin noise and enjoy a more comfortable, quieter ride. Whether you’re tackling off-road trails or cruising on the highway, the improved acoustics will make your journey more enjoyable.
Ready to transform your Defender with sound deadening materials? Visit Masai 4×4 today to explore their range of high-quality products and take the first step towards a more comfortable and quiet driving experience.
Transforming your Land Rover Defender has never been easier with Masai 4×4’s expert fitting service. Our professional team ensures that every upgrade, from sound deadening to panoramic windows, is installed with precision and care, enhancing both the performance and aesthetics of your vehicle. By choosing our fitting service, you can rest assured that your Defender will be handled by experienced technicians who use the highest quality materials and follow meticulous procedures. Don’t settle for less—book your fitting service with Masai 4×4 today and experience the perfect blend of innovation, quality, and convenience.