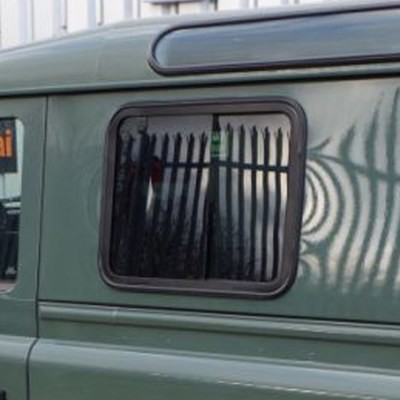
We manufacture and sell dark tinted and silicone bonded Blind Spot Side Windows for panel sided Land Rover Defenders. These very attractive and unique windows are typically sold in pairs – offside and nearside, and not only provide extra visibility but they look great too. They have a 70% no-light transmission dark privacy tint. The tint is factory-prepared – the glass is actually tinted and NOT a stuck on film which can peel off.
WHY NOT GET TWO PAIRS? – Also available as the Masai Tinted Double Side Windows for Land Rover Defenders.
They are easily fitted DIY. View and print the Land Rover Defender Masai Blind Spot Window Fitting Instructions.
Our blind spot side windows are made using E43R toughened safety glass – Masai Omega Automotive has been manufacturing automotive safety glass and many other vehicle parts for many decades and supplies all around the World to various automotive firms.
Fitting to OTHER TYPES OF VEHICLES – If you have a panel sided van or other type of vehicle or enclosure you may also be able fit our bonded tinted blind spot windows – call us if in any doubt.
Blind Spot Windows for Land Rover Defender
Blind spot windows for Lander Rover Defenders - clear, green and grey tint. Call us if you need assistance or are interested in our fitting services


